Master L Shape Vinyl Trim: Installation Steps and Key Benefits
Introduction
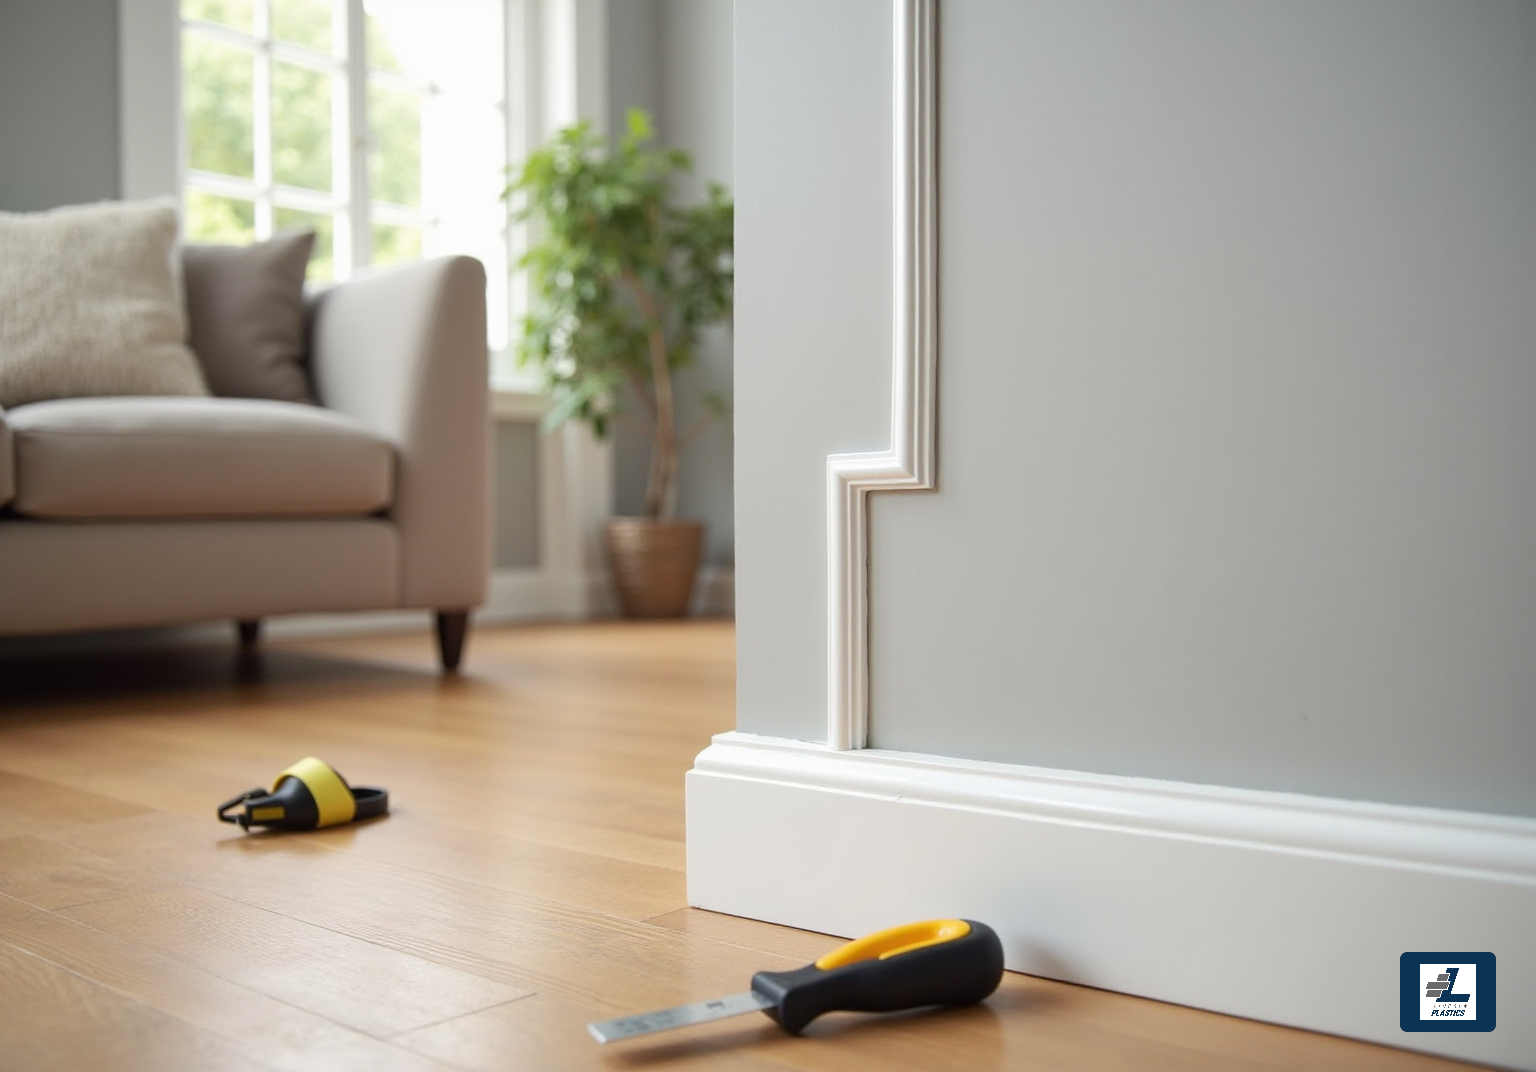
When it comes to home improvement, it’s often the little things that make a big difference - especially those finishing touches like trim. Have you ever noticed how L shape vinyl trim can really elevate a space? Not only does it look great, but it also protects those vulnerable edges and corners. In this article, we’re diving into the essential steps for installing this handy fixture, and trust me, you’ll want to stick around for the benefits it brings.
So, what’s the deal with L shape vinyl trim? Why is it such a favorite among DIY enthusiasts and pros alike? Let’s explore the installation process and uncover the advantages that might just make you a fan too!
Understand L Shape Vinyl Trim: Definition and Applications
Have you ever tackled a project and found yourself struggling with those tricky edges and corners? Well, that’s where L Shape Vinyl Trim comes in! This trim, known as molding, is a game-changer for completing those areas in your building and remodeling tasks.
Now, let’s talk about where you can use it. Think about your flooring - this molding not only gives a finished look but also protects the edges. And what about furniture? They can really enhance the aesthetics of your space while keeping wear and tear at bay.
When it comes to transitions, this molding smooths out the shift between different flooring types, helping to prevent chipping and damage. Plus, it’s perfect for furniture edges, adding a protective layer while protecting your tables and cabinets.
The best part? The trim is available in a variety of materials, colors, and sizes, making it suitable for both interior and exterior uses. So, whether you’re sprucing up your home or tackling a big remodel, this molding is definitely worth considering!

Prepare for Installation: Tools and Setup Requirements
Before you dive into installing the trim, let’s make sure you’ve got everything you need. Here’s a quick checklist of tools and materials:
Tools Needed:
- Utility Knife: Perfect for those precise cuts on the trim.
- Measuring Tape: Essential for getting those measurements just right.
- Straight Edge: This will help guide your cuts and keep those lines straight.
- Caulk Gun: If you’re using adhesive caulk to secure the molding, this is a must-have.
- Level: To ensure everything is installed evenly.
- Safety Glasses: Protect those eyes while you’re cutting away!
Setup Requirements:
- Clean Surface: Make sure the surface is free from dust and debris. A clean area promotes better adhesion.
- Measure and Mark: Grab that measuring tape and figure out where the molding will go. Mark those spots clearly!
Now, following these prep steps can really save you some time. Did you know that proper setup can cut your overall installation time by up to 30%? Plus, vinyl trim can outlast traditional wood finishes by many years, making it a solid choice for your projects. When securing the trim, remember to space the fasteners about 12 to 16 inches apart for stability. By sticking to these guidelines, you’ll achieve a professional finish that really enhances the look of your project.

Execute the Installation: Step-by-Step Guide
Installing L Shape Vinyl Trim might seem a bit daunting, but there’s no need to worry! Let’s break it down into simple steps that’ll have you feeling like a pro in no time.
- Measure and Cut: First things first, grab your measuring tape. You’ll want to measure the length of the area. A utility knife and a straight edge will help you make those precise cuts. For the cleanest results, consider using carbide saw blades, which work wonders on PVC materials.
- Test Fit: Now, before you get too excited and start fastening everything, let’s do a test fit. Place the molding in position to check if it fits just right. If something seems off, make those adjustments now to avoid any misalignment later on.
- Apply Adhesive: If you’re using adhesive caulk, apply it evenly along the back of the molding. This will ensure a strong bond. Trust me, you want to make sure it’s applied well to avoid issues down the line.
- Position the Molding: Next, press the molding firmly against the surface. Make sure it’s level and aligned with your markings. This little detail goes a long way in achieving that professional finish.
- Secure the Molding: If you’re working in a high-traffic area, it’s a good idea to reinforce the molding. Use stainless steel finishing nails or screws to keep it secure. This not only enhances durability but also prevents rust.
- Finish Edges: To really nail that clean look, use caulk to fill in any gaps between the molding and the wall or flooring. Just remember to leave a little space at the ends for expansion-this is key to preventing deformation.
- Clean Up: Finally, let’s tidy up! Remove any excess adhesive or caulk and organize your workspace to wrap things up.
By following these steps, you’ll dodge common setup errors that could mess with your finish when installing L Shape Vinyl Trim. For example, skipping the test fit can lead to misalignment, and not applying enough adhesive might cause peeling later. Expert contractors emphasize that a proper setup is crucial for a smooth, bubble-free surface, which really boosts the overall look of your project. As one contractor put it, "Attention to detail is everything." So, let’s pay attention to those details and get it right!

Explore Benefits: Why Choose L Shape Vinyl Trim?
Choosing L Style comes with a bunch of perks that really hit the mark for both practicality and style.
- Durability: Let’s face it, we all want materials that can take a beating. The trim is crafted from vinyl materials that are designed to endure wear and tear, whether used indoors or outdoors in the yard. It’s tough against moisture, mold, and UV rays, so it keeps looking good for years to come-way longer than traditional materials like wood, which usually only last 20 to 30 years with some TLC.
- Aesthetics: Now, who doesn’t want their space to look great? This molding adds a sleek touch with its clean lines and polished finish. Homeowners love how it can mimic the look of wood without the hassle of constant upkeep. Plus, you can customize it to fit your unique style, making it a favorite among many.
- Ease of Installation: If you’re a DIY enthusiast, you’ll appreciate how simple it is to install this trim. Just make sure to measure and cut properly for a perfect fit. It’s a fun project that can really spruce up your space!
- Versatility: This molding is versatile, working well in everything from flooring to furniture. It’s perfect for all sorts of design needs, and many folks are on the lookout for materials that can blend seamlessly into different styles.
- Low Maintenance: One of the best things about L Form trim? It hardly needs any upkeep! A quick wash with soap and water is usually all it takes to keep it looking fresh. This is a huge win for busy homeowners who want beauty without the constant hassle. Plus, there are plenty of case studies showing how well vinyl trim performs in various settings.
In a nutshell, choosing L Shape Vinyl Trim is a smart decision for anyone aiming to enhance both the aesthetic and functionality of their spaces. It’s all about durability, style, and ease of use!

Conclusion
Mastering the installation of L Shape Vinyl Trim isn’t just about making your space look good; it’s also about adding some serious protection and durability. This trim is super versatile and is a must-have for achieving those clean finishes in all sorts of places, from window frames to flooring transitions. By getting to know its benefits and how to install it, you can easily elevate your projects and impress everyone.
So, what’s the deal with installation? Well, it’s all about preparation and having the right tools. You’ll want to:
- Measure and cut accurately
- Secure the molding
- Finish those edges just right
Each step is crucial for getting that professional look you’re after. Plus, the durability and low maintenance of L Shape Vinyl Trim make it a fantastic choice for sprucing up any area in your home.
But let’s be real - using L Shape Vinyl Trim isn’t just about looks; it’s an investment in a material that blends functionality with style. With how easy it is to install and how little upkeep it needs, this trim is a practical solution for anyone wanting to refresh their space. So, why not take the next step in your home improvement journey? Incorporate L Shape Vinyl Trim and enjoy the beautiful, durable finish it brings to your projects!
Frequently Asked Questions
What is L Shape Vinyl Trim?
L Shape Vinyl Trim is a flexible plastic fixture used in home improvement projects to finish tricky edges and corners, providing a clean and protective finish.
Where can L Shape Vinyl Trim be used?
It can be used on window and door frames, wall corners, flooring transitions, and furniture edges to enhance aesthetics and protect against damage.
How does L Shape Vinyl Trim benefit flooring transitions?
It smooths out the shift between different flooring types, helping to prevent chipping and damage.
What are the aesthetic benefits of using L Shape Vinyl Trim?
It enhances the overall look of a space while providing a decorative touch to furniture edges.
What options are available for L Shape Vinyl Trim?
It is available in a variety of materials, colors, and sizes, making it suitable for both interior and exterior applications.
List of Sources
- Understand L Shape Vinyl Trim: Definition and Applications
- lincoln-plastics.com (https://lincoln-plastics.com/news-post/10-innovative-uses-of-l-shaped-plastic-trim-for-your-projects?dcc2137a_page=41)
- lincoln-plastics.com (https://lincoln-plastics.com/news-post/10-essential-uses-of-plastic-l-shape-trim-for-your-projects?dcc2137a_page=38)
- floortrendsmag.com (https://floortrendsmag.com/articles/114034-metal-and-plastic-trim-offer-versatile-budget-friendly-option-for-tile-installations)
- verifiedmarketresearch.com (https://verifiedmarketresearch.com/product/pvc-molding-and-trim-market)
- dataintelo.com (https://dataintelo.com/report/molding-trim-market)
- Prepare for Installation: Tools and Setup Requirements
- echonbuildingproducts.com (https://echonbuildingproducts.com/a-10-step-guide-to-correctly-installing-pvc-trim-boards)
- sherwoodlumber.com (https://sherwoodlumber.com/pvc-trim-installation-guide)
- brazilianlumber.com (https://brazilianlumber.com/how-to-install-pvc-trim?srsltid=AfmBOooHoFmY1KGO3Tmq66XbjmeazmkX-vP_QinrhtodWJBp02d-NgqF)
- boardwaybuilding.com (https://boardwaybuilding.com/n1904027/Installation-Tips-for-PVC-Trim-Board-A-Step-by-Step-Guide.htm)
- timbertech.com (https://timbertech.com/ideas/installing-pvc-trim)
- Execute the Installation: Step-by-Step Guide
- lincoln-plastics.com (https://lincoln-plastics.com/news-post/10-innovative-uses-of-l-shaped-plastic-trim-for-your-projects?dcc2137a_page=7)
- lincoln-plastics.com (https://lincoln-plastics.com/news-post/master-l-shaped-trim-plastic-installation-and-design-essentials?dcc2137a_page=23)
- sherwoodlumber.com (https://sherwoodlumber.com/pvc-trim-installation-guide)
- echonbuildingproducts.com (https://echonbuildingproducts.com/a-10-step-guide-to-correctly-installing-pvc-trim-boards)
- carlikewrap.com (https://carlikewrap.com/blogs/news/the-step-by-step-guide-to-installing-a-car-color-change-wrap?srsltid=AfmBOoobD5S1ErVB6Ym8OncM0LyuJmBtEbpb4CAYUFpgpyAtkLA0lC3R)
- Explore Benefits: Why Choose L Shape Vinyl Trim?
- nei-cds.com (https://nei-cds.com/reasons-vinyl-windows-are-a-smart-option-for-modern-homes)
- boston.com (https://boston.com/real-estate/home-improvement/2025/08/20/pros-cons-wood-fiber-cement-vinyl-siding)
- coohom.com (https://coohom.com/article/vinyl-exterior-window-trim-benefits-and-insights)
- bettervinylsiding.com (https://bettervinylsiding.com/comparing-the-lifespan-of-different-siding-materials)
- vinylinfo.org (https://vinylinfo.org/news/top-five-vinyl-benefits-according-to-specifiers)
